Here's how grafted a black gold cherry tree onto an overgrown Gisela 6 plant. I used to graft fruit trees fairly often for the (now nonexistent) nursery. So I had this one Gisela 6 rootstock plant, which had grown to about 7' high. I cut all the branches off at 1" diameter (there were three main ones). I used variant on spliced side (more on that below) to add the three scions. I used grafting tape to seal them. The tree is now about 15' tall, and, if it weren't for the fact that I didn't spray it yet this year, it has been doing quite well. Grafting is an art. Don't expect to be as good as a professional on your first try.
Here are some points that you need to know before starting
There is a thin green layer under the bark, called cambium. This must be in full contact in a graft, with the scion and the stock fitting like a puzzle.
Air in the graft will dry it out, and it will fail. Make sure your cuts are flat, and wrk as fast as possible to get the scion on the stock.
Grafting is usually done before growth starts in spring.
It is a good idea to practice on something easy, like a willow tree, before starting on something serious.
Don't bother the plant once t has been grafted. Even after a few weeks, when growth shows, the attachment can easily be severed.
What you need
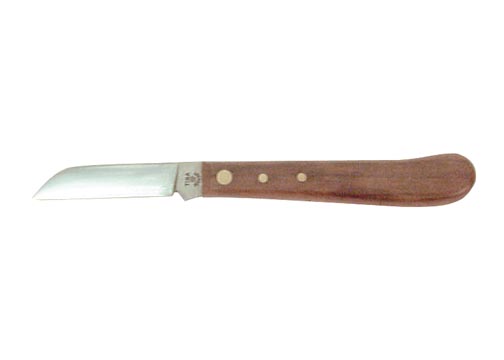
- Grafting knife You need a sharp, small blade that will cut with no mashing or tearing.
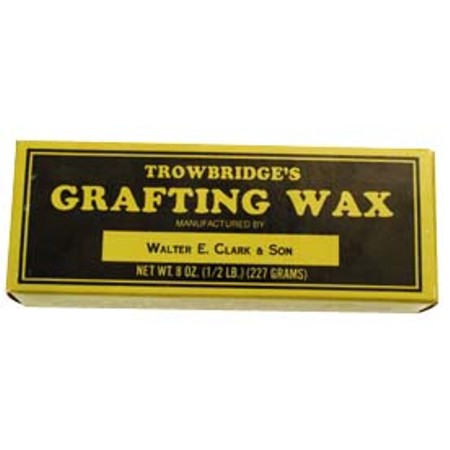
- Grafting Wax You need this to seal many kinds of graft, to keep out air and pathogens.
- Grafting Tape seals the wound, while giving support.

Methods
The kind of graft you use will depend on the size of the branch you are going to use. below are details on three different grafting methods, which I think will be most applicable in your case:
Spliced Side Graft
This is usually done in early spring before bud break. I use it on stem diameters of up to 1/2 inch. It is very reliable.
Find a scion of the plant you want to grow. It should be about 6" long. Put in a plastic bag in the refrigerator.
The plant or branch to be used as stock should be cut to between 6 and 4" from the base.
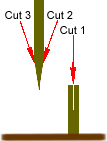
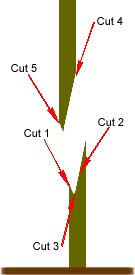
About one inch from the end of the stock, make a small straight, downward, inward cut, going in about a quarter of the way, and twice as far down. Then make another cut from 12" higher up on the stock. Cut straight to the point where your other cut stopped. Remove the chip.
With you're knife in the groove you've created, cut straight upward and back, out to the back of the stem, at the top.
On the scion, cut a slanted, level cut from one inch of the base, through to the other side of the stem, at the end. Then make a smaller cut slanting up on the other side, to match what you did on the stock. Immediately fit the pieces together.
Coat in grafting wax.
Diagram:
Whip and Tongue Graft
This is one that I used on ornamentals, particularly those with the same diameter in the scion and the stock. It is rather easy, because it takes advantage of the elasticity of green wood.
Take a seven inch scion from a healthy plant.
Cut the end off the stock, leaving at least 3"
Make a slanted cut (I do about 25-30 degrees) from the end of the stem.
Make a 'tongue' on the middle of the cut, by taking your knife straight down the middle of the stem. Don't go too far, though.
Make an identical cut on the scion, the slanted cut and the tongue must be the same length as the ones you made on the rootstock.
Push the stems together, making sure there is no air between them.
Wrap in grafting tape.
Diagram:
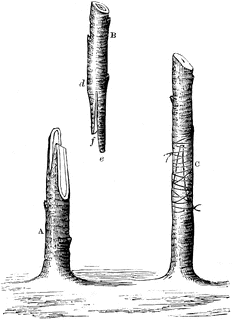
Apical Wedge Graft
This one is also very good for the beginner. It is limited in that it doesn't work well on stems over 1" in diameter.
Cut a scion up to 1' long.
Cut the stock, leaving yourself at least 3".
Cut straight down the center of the stock, about 1 1/2".
Cut an even 'V' on the end of the scion. Make it as long as the stock incision is deep.
Push the scion into the stock.
Coat in grafting wax.
Diagram:
