First, I have no personal experience with in-ground sprinkler systems i.e. I've not designed or installed such a system, nor have I ever lived in a home that had such a system.
What I do know comes from reading about such systems, watching them being installed on various (gardening, DIY) TV shows, talking with people who have such systems and a friend who installed his own system last year.
Most of what follows comes via the friend who installed his own system:
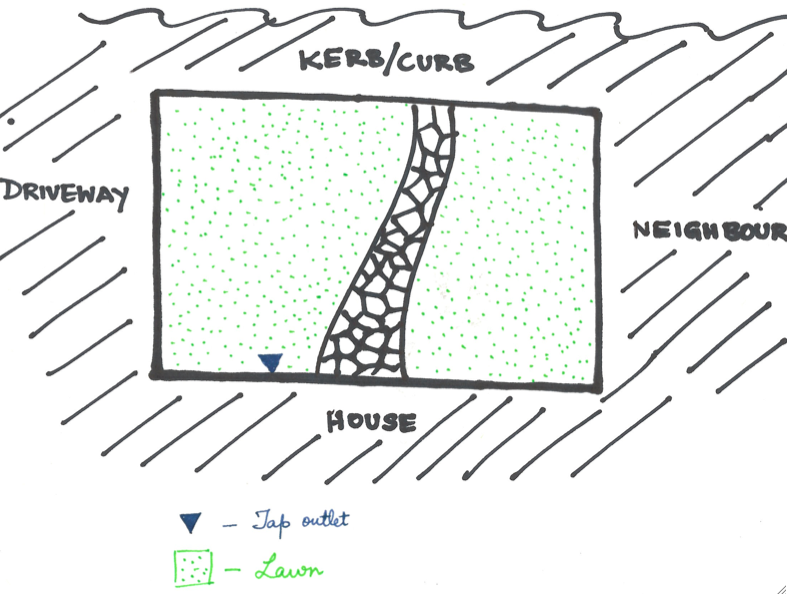
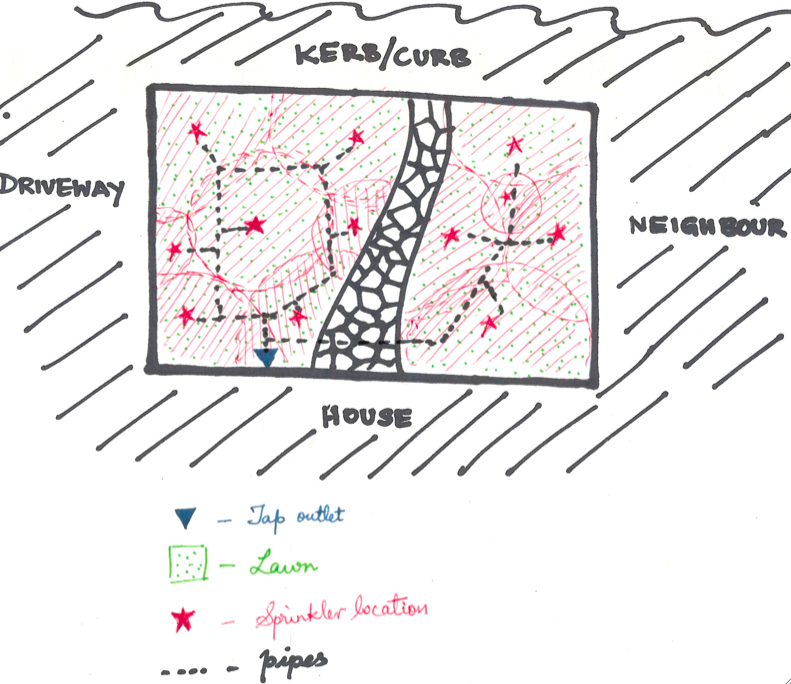
Measure the area(s) you want to irrigate, then draw out a scaled drawing of the area(s). Add important information to the drawing eg
Measure your water pressure.
- Pretty much regardless of the above reading, installing a "Pressure Regulator" is highly recommended.
Divide areas into zones.
"Generally" speaking the more zones the better.
More zones give greater control e.g. Certain zones might need to be watered more than others.
Install a master "Irrigation Control Valve" box ie Gather all "Control Valves" into a single area, this allows for easier maintenance...
It's worth making this master box bigger than you initially need and throw in a couple of spare "Control Valves", this will make any further upgrades, expansion of the irrigation system that much easier.
Install a "Emergency Shut-off Valve" that shuts off water to the whole irrigation system.
Buy all your major parts online, saves a lot of money (compared to DIY stores).
Don't try to save money on the irrigation piping, get the very best you can afford.
- A properly designed system will mostly likely use different size piping within the irrigation network ie 1inch (25mm), ¾inch (19mm) & ½inch (12.5mm) diameter pipes.
Before you starting digging, check local and state laws/requirements eg
Here in Missouri it's against the law to begin excavating before you request utilities are marked on site:
Missouri law requires that a locate request be placed before beginning any excavation.
Placing a locate request is free and easy! Call 1-800-DIG-RITE (800-344-7483) or 811 or place your request online using Internet Ticketing.
The utilities should respond to your request within 3 working days by:
After confirming utility response, you can then proceed with your excavation avoiding damages.
Even in areas that experience freezing conditions it's not "standard practice" to bury the pipes deep enough so they're unaffected by those conditions, instead it's "standard practice" to drain (blow out via an air-compressor) the system before freezing weather conditions arrive in the area.
You don't want to bury the pipes too deep, that leads to more digging. Also you don't want to put the pipes too shallow, that could easily lead to a garden tool (fork, spade, etc) piercing the pipe while you go about your normal gardening work.
Burying pipes somewhere in the 10 to 18inch (250 to 450mm) depth range is considered "safe" (a good depth).
Don't connect your irrigation system to an outside tap (though this can be done, it's considered "poor practice"), instead properly plumb it into your "domestic" cold water system.
A little more work, but well worth taking the time and cost to-do.
When connecting into your "domestic" cold water system, install a "Backflow Device", this prevents water from your irrigation system entering your "domestic" cold water system. Such a device is "generally" required by local building codes and/or your local water company.
Don't go with a battery powered "Timer" (Control Panel), instead go with one that you can wire into your "domestic" electrical system. Again, a little more work, but well worth the effort and cost...
Get "Sprinkler Heads" that have (replaceable) filters, this allows you to easily clean them or replace them.
A well designed system will overlap each sprinkler water zone by about 20%, this ensures good water coverage and minimises dry areas between the sprinkler water zones.
- Also allows for things like windy days when the wind will effect the distribution of the water.
The "Sprinkler Heads" should deliver water droplets, not water spray (mist).
- Water spray (mist) results in inefficient watering, a lot of water will be lost to evaporation (and/or wind).
My friend has a friend who designs, installs irrigation systems for a living, therefore he was able to get his friend to design, layout the system and work up a complete parts list. That saved a lot of confusion, time and headache. In general, it would be wise to plan everything in advance on paper before getting hands on.
I'm going to get my friend to read over the above and will correct and/or add anything that I've got wrong, missed.
Below are some resources that I believe should prove helpful/useful:
I hope the above information helps a little.


